✉ hello@onemoregarden.com



If you only want to plant once and harvest forever, let me introduce you to Jerusalem artichokes. Stick a couple of knobbly tubers in the ground and you’ll have a lifetime supply – whether you planned on it or not.
Some years ago, a friend gave me some tubers of the Jerusalem artichoke. Honestly, I had never in my life even tasted them, let alone grown them. But my friend assured me that growing it would be the least of my worries. I should be more careful not to let it take over my garden. And she was right!
So what is this Jerusalem artichoke?
Let’s first tell you a bit more about this wonderful plant. Despite the name, Jerusalem artichokes have nothing to do with Jerusalem, and they’re not artichokes either. The truth is, Jerusalem artichokes are actually a type of sunflower – but with tasty tubers. That’s why the botanical name is Helianthus tuberosus. It also explains the cheerful yellow flowers, and the habit of shooting up to two meters high (or sometimes even taller).
Easiest veg to grow – ever

What makes them special is how ridiculously easy they are to grow. You don’t need special soil or fertilizer. In fact, Jerusalem artichokes hardly require any attention. They seem to grow themselves: plant a couple of tubers and they’ll do the rest.
In fact, they’re so vigorous that I tend to plant them at the edge of my garden. First time I grew them I planted them in a corner where nothing else would really grow. But these guys did! They have a habit of taking over parts of your garden, so it’s best to keep them in a separate bed.
The reward: flowers and tasty roots
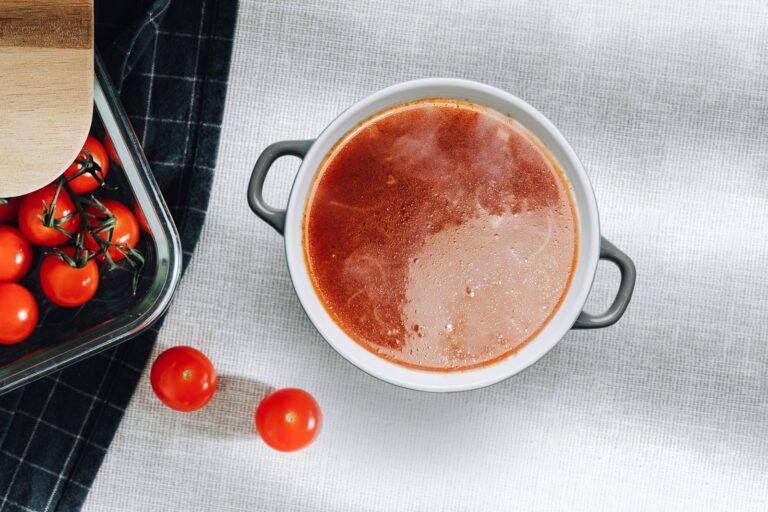
After a long growing season you will be rewarded with cheerful late-summer flowers first, and then in autumn and winter with knobbly roots that have a rich flavour – somewhere between potatoes and artichokes. Roast them, mash them, or turn them into soup – they’re surprisingly versatile.
Just one word of warning: they have a reputation for being, let’s say, lively in the digestive department. But eaten in moderation or well-cooked, this ‘forgotten veg’ is a staple crop in my kitchen garden.
Planting Jerusalem artichokes
Growing Jerusalem artichokes starts with a tuber. No seeds, no fuss – just a knobbly little root that looks like something the supermarket would reject. You plant it just like a potato, about 10 cm deep, in a sunny or lightly shaded spot. From that single tuber grow more tubers. The rhizomes are usually not round, like potatoes, but stick together more, a bit like ginger.
These plants don’t do ‘modest’, so give them some space. By summer the stalks will be towering up to two meters high, so don’t plant them where they’ll shade your cabbages or tomatoes. A sunny corner works best (though this year I even have some growing in a big container). They can even function like a windbreak, with flowers as a bonus.
Jerusalem artichoke care
One of the best things about Helianthus tuberosus – for laissez-faire gardeners like me at least – is that they don’t really need me. No fertilizer, no special care, and so far I haven’t ever even watered them (my clay soil keeps in quite a lot of moist, even during droughts). And if in winter you think they’re gone, your Jerusalem artichokes will pop up again soon enough in spring.
Harvesting Jerusalem artichokes

Patience is key: Jerusalem artichokes aren’t ready until autumn. Around October, when the tops start to die back, you can dig them up with a garden fork. Don’t expect tidy potatoes – you’ll find knobbly clusters that look more like ginger roots. Harvest what you need and leave the rest in the ground. Once you harvest them, they won’t store very long, but in the ground they do keep well.
Besides, no matter how careful you are, you’ll always miss a few. Which means… surprise! Next year, you’ve got plants again. Which is great, because now you won’t have to plant them yourself. Nature will nurture them for you.
Eating Jerusalem artichokes
This is where things get interesting. The flavor is subtle and nutty, with a sweetness a bit like artichoke hearts (hence the name). I just use a potato peeler to peel off their skin, and then they’re ready for roasting, blending into soups or sautéing with other autumn vegetables.
Beware of the ‘fartichokes’
There is a catch, however. Jerusalem artichokes contain a type of fiber called inulin, which is great for your gut bacteria – and equally great at making you gassy. Their nickname, ‘fartichokes’, isn’t just a joke. Some people barely notice it, while others … well, let’s just say you wouldn’t want to serve them on a first date. Cooking them thoroughly, or eating them in moderation, usually helps.
Still, they’re worth it: healthy, tasty, and more versatile than they get credit for. Just enjoy them with a sense of humor (and maybe a window cracked open).